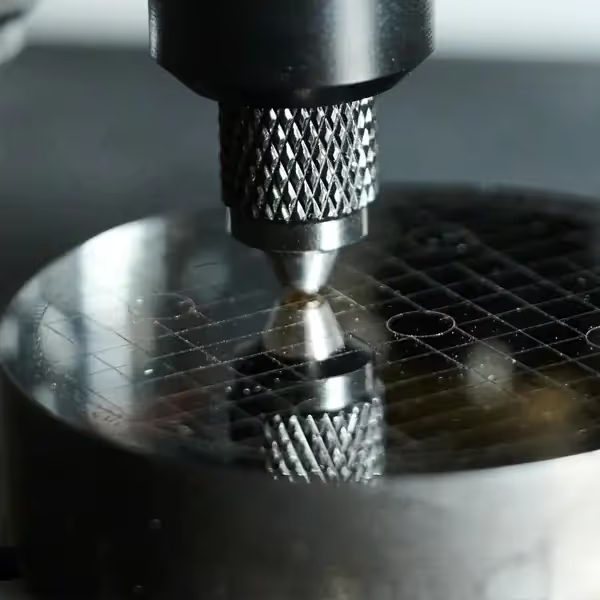
Non-destructive & destructive testing – standard-compliant and quickly documented.

Forged Part Inspection

Non-destructive & destructive testing – standard-compliant and quickly documented.

Request now
  • NDT · UT · RT · MT · PT · VT
  • Destructive tests - tensile, hardness, impact, metallography
  • Detect stress & hardness cracks, flakes cracks

Forging

Forged Part Inspection – Overview & Procedures

We inspect all types of forged parts – non-destructively (NDT) and destructively – and provide fast, standard-compliant inspection reports for your quality assurance. Our personnel are qualified by industry and material for forged products.

NDT Procedures for Forged Parts
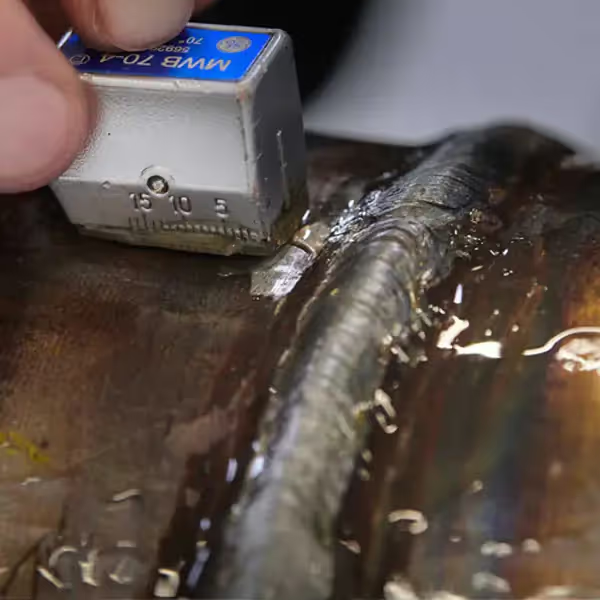
  • Ultrasonic Testing (UT) – e.g. according to DIN EN 10228‑3/‑4 or customer specification
  • Radiographic Testing (RT) – according to DIN / ASTM
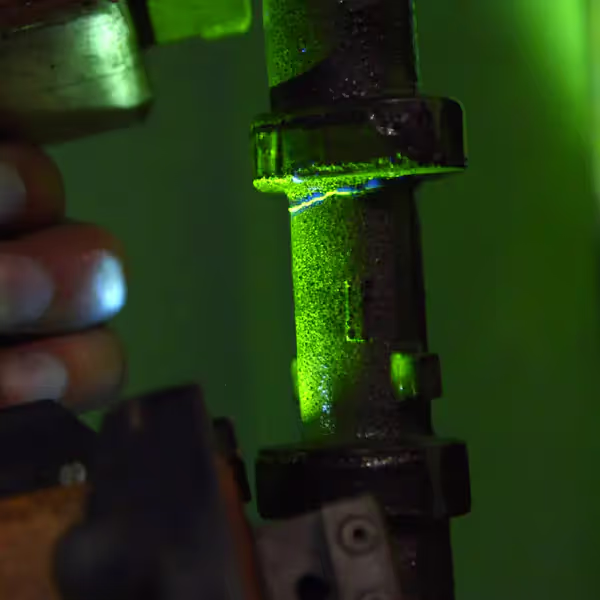
  • Magnetic Particle Testing (MT) – according to DIN EN ISO / DIN EN 10228‑1
  • Visual Testing (VT) – according to standard / specification
  • Penetrant Testing (PT) – e.g. according to DIN EN 10228‑2
Destructive Testing (Excerpt)
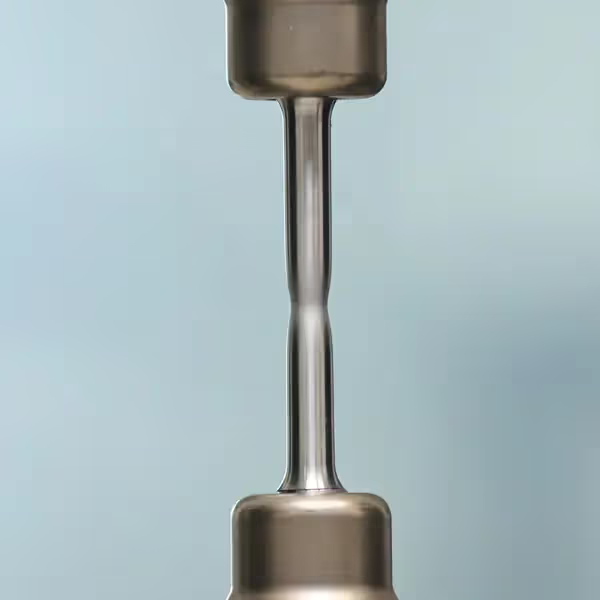
  • Tensile Test – yield strength, tensile strength, elongation at break
  • Hardness Testing – Brinell, Vickers, Rockwell
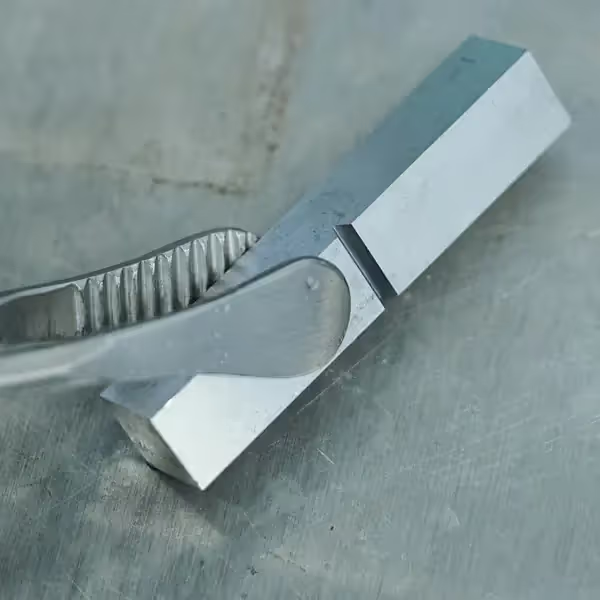
  • Impact Bending Test – Charpy
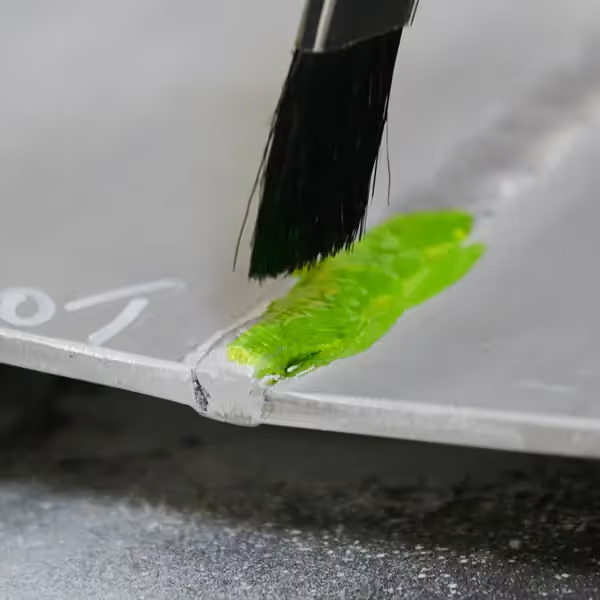
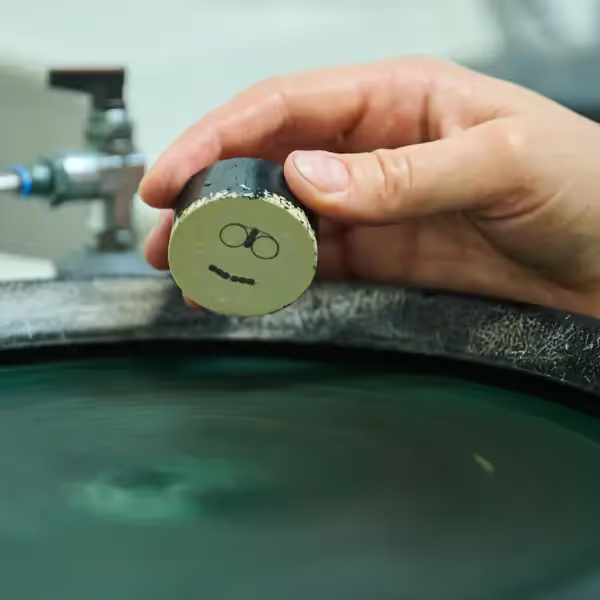
  • Metallography – microstructure analysis, grain size, coating thickness

After completion, you receive an accredited inspection report – fast, transparent, and optionally with photo documentation.

FAQ

Frequently Asked Questions

What is Zeros GmbH?

Zeros GmbH is an independent testing laboratory for destructive and non-destructive materials testing. We support companies from incoming inspection to series release – including digital test reports and full traceability.

We operate under accreditation to DIN EN ISO/IEC 17025 (quality management for laboratories). See our current accreditation information here.

Which standards is Zeros accredited to?

We are accredited by DAkkS to DIN EN ISO/IEC 17025. This standard ensures that test methods, equipment control, personnel qualification and reporting meet the highest requirements.

An overview of services and scopes is available on our homepage.

What services does Zeros GmbH offer?

Our portfolio covers NDT (UT, RT, MT, PT, VT), mechanical testing (tensile, hardness, Charpy), metallography (microstructure, grain size, coating thickness) and chemical analysis (e.g. OES, XRF). We also provide specimen preparation, documentation and consulting.

How can I use Zeros services?

Please contact us by email or use the contact option on the website. Share material, standard/specification and quantity – we'll get back to you promptly with a solution.

Types of Defects in Forged Parts – Causes & Suitable Testing Methods

Defect Group Defect Type Causes Detectability
Cracks Stress cracks, hardness cracks Improper heat treatment (too rapid heating/cooling), uneven cross-sections, existing pre-damage UT · RT · MT · PT
Cracks Flake cracks Hydrogen in the material; gas activation during heat treatment; grain boundary cracking UT · RT · MT · PT
Forging Defects Core forging defect Insufficient heating of the workpiece core → reduced formability, internal damage UT · RT
Forging Defects Forging fold Too small volume/poor preform; insufficient material intake before forming MT · PT · VT
Forging Defects Cold welding Separations in joining/forming process due to too low temperature or oxidation UT · RT · MT · PT · VT
Microstructure Microstructure inhomogeneities Misoriented carbides/non-metallic inclusions (e.g. sulfides/nitrides), faulty heat treatment Metallography
Raw Material Laminations Former gas bubbles/voids/segregations from the block; lack of metallurgical bonding during forming UT · RT